What will you need?
- clean hands
- some water
- a fork
- some space with a temp of 22-23 °C
Usually, at the beginning of adventures in growing oyster mushrooms or other legal mushrooms, shroom growers face similar problems and ask the same questions. This is normal, and a little extra knowledge and dispelling doubts hasn't hurt anyone yet!
We caution against growing psilocybin mushrooms. The instructions are intended only for growing oyster mushroom and other edible mushrooms, unless the law in your country allows the cultivation of Psilocybe cubensis. We would like to remind you that in many countries (including Poland) the alkaloids found in psilocybin mushrooms are illegal.

STEP 1
PREPARING THE SITE
Clear your work area of all unnecessary items. If you have pets, ensure they are out of the work area. Prepare a clean fork, turn off the water and open the mycelium container.

STEP 2
MYCELIUM PUNCTURING
not applicable to grow kits with a hemp mat covering layer
(e.g., Malabar)
Puncture the top layer of mycelium with a fork - this will help to hydrate it and will make it easier to form pins.
A dozen or so puctures are easily enough. Try to prick the mushroom about as deep as the tines of a fork.

STEP 3
SOAKING AND DRAINING
Now fill the container with mycelium gently with water so that all of it is covered. Cover the container with the lid. Leave for 16 hours. Then lift the lid slightly and carefully pour out the excess water from the container.
Don't put the mycelium in the fridge!

STEP 4
PREPARING THE GROWBAG
Open the growbag and pour about 200 ml of water into it. Then remove the lid from the mycelium box and carefully place the box in the growbag so that water does not pour in.

STEP 5
CLOSING AND WAITING
Using the clips from the kit, close the growbag by wrapping it twice. Place the growbag in a safe place, e.g. on a cupboard. Try to ensure a temperature of around 21-23°C. Take a deep breath and relax, let the two to three week magic happen. Mushrooms like peace and quiet - try not to disturb them too much :)

STEP 6
HARVEST TIME
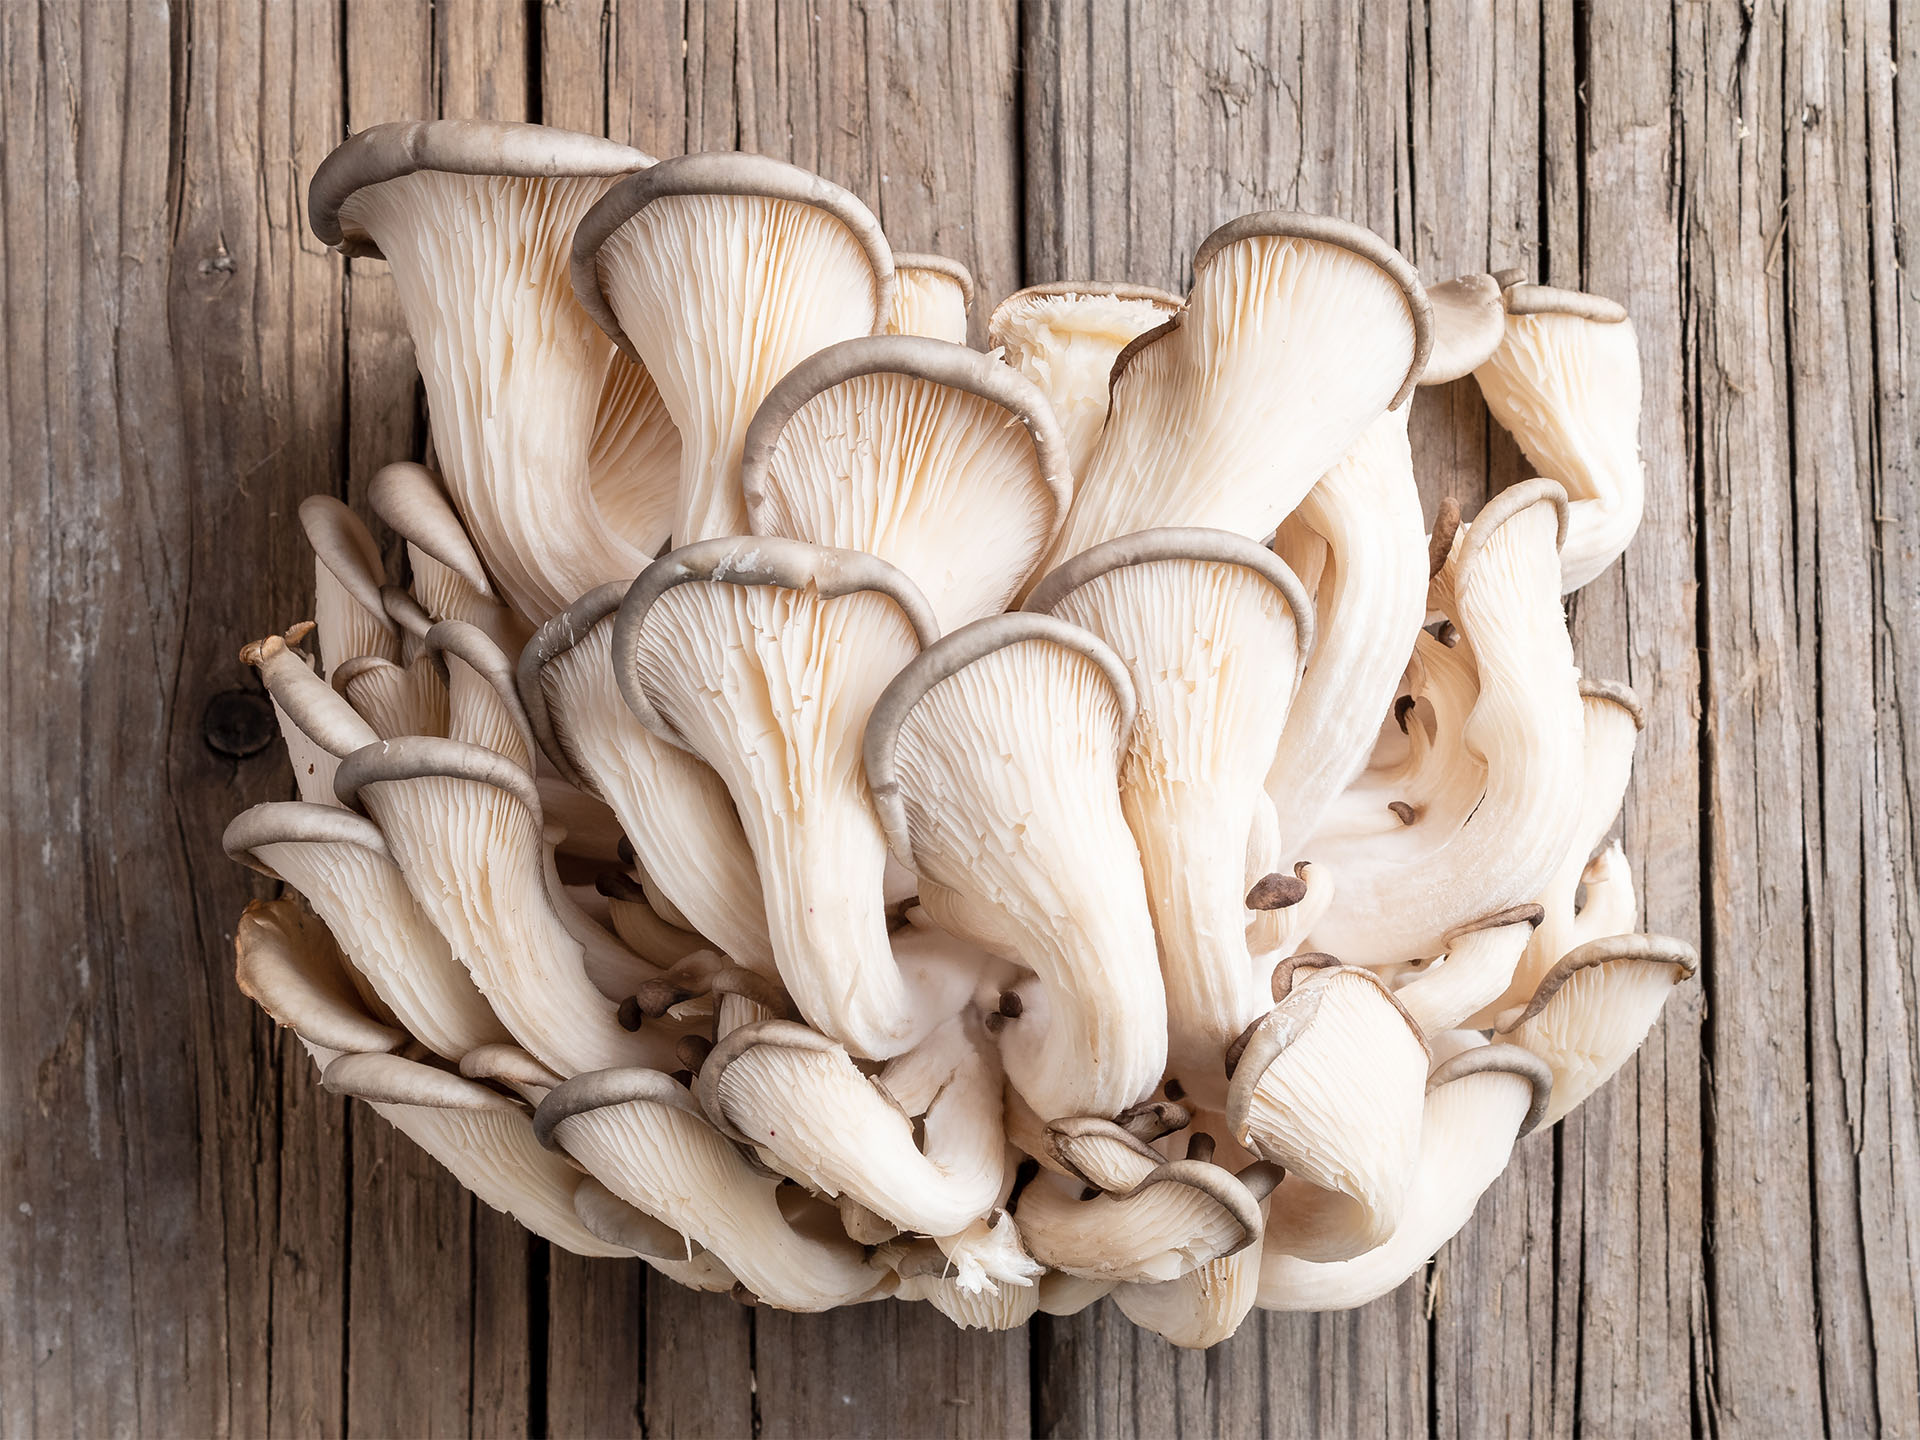
Once the oyster mushrooms are ready, wash your hands thoroughly, take the growkit out of the bag and gently twist out the fruiting bodies. Try to remove the smaller mushrooms as well, although don't do this at all costs. Nothing bad should happen if a few small ones are left unpicked. Try to be gentle on the mycelium :)

STEP 7
WANT MORE?
No problem. If you want to use growkit again and enrich your harvest with more tasty mushrooms, simply repeat steps 3 to 6 :)
...and the most important rule is:
Enjoy!